There’s one thing that Niki is useless at when it comes to our camping adventures: packing the car for camping! So this is as much for her as it is for you, our dear readers.
Affectionately known as Car Tetris, packing the car for camping is an art form that takes a bit of mastering, especially if you have a small car and more than one person (and more than one person’s gear) being packed into it. Where there is a will, there is a way, as they say.
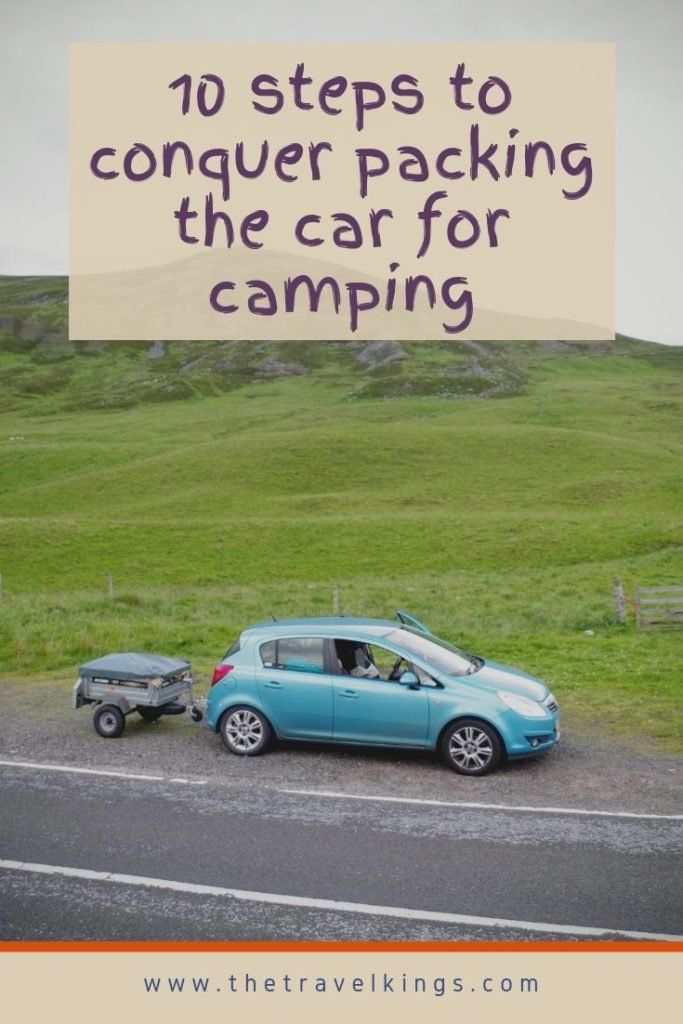
For many years, we only had Niki’s Vauxhall Corsa to pack all of our camping gear into. Now she’s got a bigger car and Fee has a VW Polo. Car Tetris is important if you want to remain comfortable for long journeys to your camping site. No-one really wants to travel for 3 hours with a sleeping bag and tent on their lap and no room to move. By the same score, you don’t want to be leaving important things behind because you can’t fit them in.

10 steps for packing the car
Here are the steps we take when packing the car for camping. These go for any size of car too, from Corsa to truck!
1. Get everything together near the car.
Tents, sleeping bags, cooking stuff, food, clothes, everything! I make a rule that everything to go in the car must be on the driveway by the car before I start packing. Anything not by the car before I start doesn’t go in! If you want your feather pillows (Niki!), they have to be there ready to pack, not brought out at the last minute.
2. Start with the big things.
You want to pack your car as evenly as possible so that you’re not putting all the weight on one side or on one axle.
3. Tents, sleeping bags, and clothing go first.
If your tent is a roll style pack rather than a round pop up, it’ll be one of the biggest things to pack. Round pop-up style tents can be more difficult to pack because of their size and shape.
4. Start with the boot.
Pack the biggest things in first. I start with the tent. If we’re both going in the same car, then we have two tents. They go in first. If we use our big tents, then I put the back seats down flat and put a tent on each side. If you’ve got the flat, round pop up style tents, pack them on top of everything else, laying flat.
5. Sleeping bags.

Our big sleeping bags are huge! They go in the middle, between the tents. The smaller pack sleeping bags can be packed in the same space. Sleeping mats are also in the middle of the tents.
6. Next usually comes the clothes.
I pack a duffle bag (affectionately known as the tardis), Niki packs a backpack. These bags fit in the space at the bottom of the tents, closest to the door of the boot.
7. Then comes cooking stuff and food.
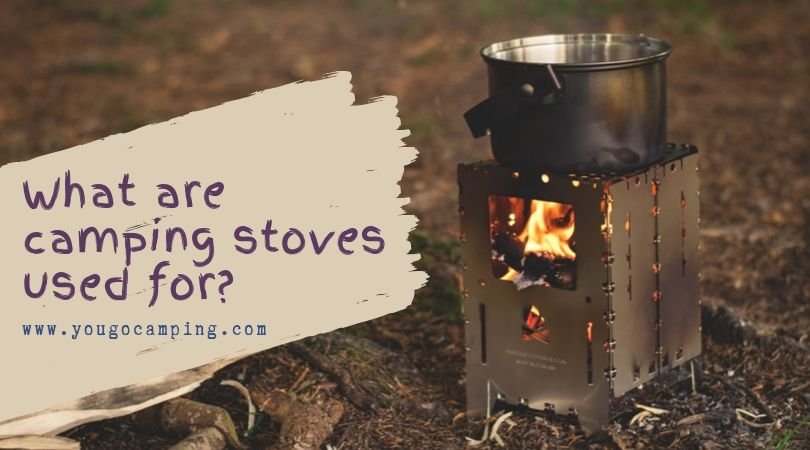
We usually pack our gas stoves in their boxes, with a bag for gas cannisters and another one for plates/cutlery/cooking pots. These go in one of the back seat footwells. If we’re taking the coolbox, then it goes in the other passenger seat footwell with the bag with food in it on top.
8. Visibility.
Make sure that the driver can still see out of the windows. Get them to sit in the seat and check that they have decent visibility all around.
9. Any extras
Wellies, table, chairs etc all get packed into small spaces. Look at the spaces you’ve got and see what you can fit in it. If we’re sharing a car for camping adventures, I usually end up with our day packs by my feet in the passenger seat footwell for easy access.
10. Visibility and accessibility
Get your driver to sit in the car again and make sure they can access all the important things. There have been a number of times I’ve been reminded that, despite driving only automatic cars, Niki actually does need to use the handbrake and gearstick…
Gas, fire, solid fuel, find out which stove is best for you and your packing needs.
BONUS! Our top car camping packing hacks

Hack #1
Pack your wallet/a bottle of water/snacks in your day pack and have them easy to access. You don’t want to be unpacking half the car at the petrol station to pay for your fuel.
Hack #2
When packing your clothes, put your pyjamas on top. They’re the first items of clothing you’re going to want to get out when you’ve set up camp. Put your torch on the top of the bag, or in a pocket. I have more than once had to empty a bag completely because the torch has ended up at the bottom.
Hack #3
Make sure your gas cannisters are in an easily recognisable bag (ideally with a fire extinguisher). Ensure that bag is not left unattended in the car during the day.
Hack #4
Check as you get everything ready to pack that your tent has poles and pegs (we have known someone turn up to camp with a tent, pegs, and no poles!). If needed, pack extra pegs. Do not run out of pegs! Take this chance to check your pegs. Make sure they’re fairly straight and not rusty. Pack a mallet.
Hack #5
Put wellies and wet weather gear somewhere near the top, somewhere easy to access. If it’s tipping it down with rain when you arrive, you don’t want to unpack everything because the waterproofs are at the bottom.
Hack #6
Take some dry bags or bin liners to pack wet things in on the way home. It’s slightly odd to drive along and hear dripping because your weekend has been a washout. Especially when you start thinking about how much you’ll need to clean your car interior when you imagine all the water and mud slowly making itself at home.
What do dry bags and pubs have in common? Find out in this article.
Size matters (for both car and camper!)
Packing a bigger car, or packing for more people, uses the same theory. Start with the big things, then look at the spaces and pack things in them. It’s actually quite surprising how much you can fit in a small car. Last time we went camping, it was for re-enactment, so I had most of the re-enactment tent, my camping gear, my medieval gear, and modern clothing, and water, AND food in my car! I didn’t even have to take the shelf out or drop the back seats. Good car tetris is amazing.
Regardless of the size of your vehicle, do check to see what tyre pressure you should have. Many cars/bikes need to have a slightly different pressure if packed. So before you leave, check to make sure that your tyres are at the right pressure for a packed vehicle. Also check to see where your headlights should be set. Some more modern cars will set them automatically, some older cars (like mine) have a manual set wheel. Look up where they should be set for a packed vehicle and set accordingly. It’ll stop you accidentally blinding oncoming drivers or driving half blind in the dark.
Get your driver to check their mirrors before setting off. A well-packed car can leave parts of the car at different angles. So recheck before you leave to make sure that any adjustments are done before you are on the road.
Packing and towing caravans and trailers
If you are intending on towing, make sure you don’t over-pack either the trailer or your car. There is a legal maximum weight that drivers can tow and this is dependent on their license. Each car has a maximum weight that it itself can tow. It differs with every car so it’s worth checking beforehand.
When towing a caravan, ensure everything is secured where it should be. For both caravan towing and trailer towing, the heavier items should be closer to the hitch point and not right at the back. Can you see out of the mirrors? Caravans or bigger trailers may benefit from mirror extenders.
With a caravan, always ensure the legs are up and the stabiliser is connected. With both a caravan and a trailer, ensure that the brake chain is connected if you have one, the hitch point is locked, and the lights are plugged in (and working).
Check the brake lights and signals for the driver, or, if you are the only person driving and towing, hit the hazard lights to check the signals and catch a reflection of the brake lights to ensure they’re working. It’s a mightly big fine if they aren’t!
Packing a Motorbike for camping
Packing a motorbike is slightly different thank packing a car for camping…actually, completely different. There’s even a big difference in packing between styles of bike.
I’ll do an article soon on how I pack my bike for camping.

With a bike, think about your weight distribution a lot more. The weight needs to be central, rather than all over the back wheel. If it’s over the back wheel, then the front has a tendency to lift easier. I use panniers and dry bags and a lot of bungee cords!
Did you find our hacks useful? Do you have any to add? We’d love to hear about them in the comments. If you liked this article, why not pin it or share it?


0 Comments